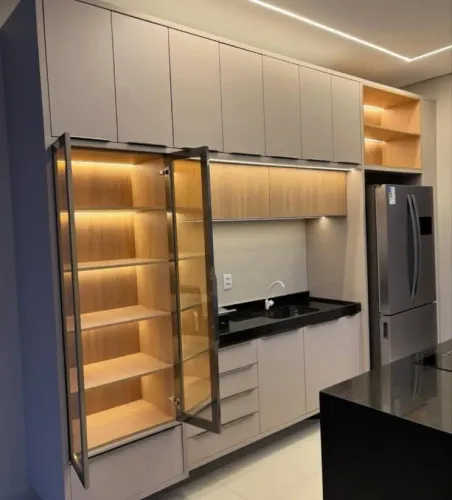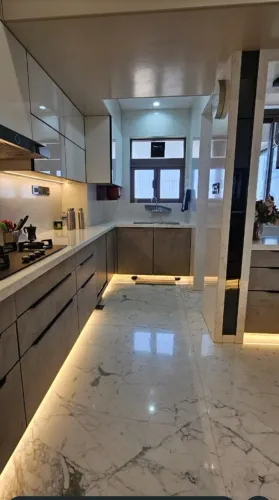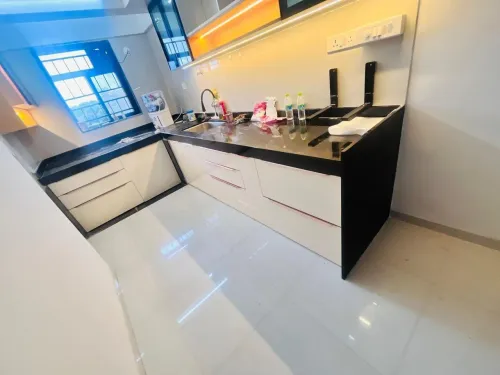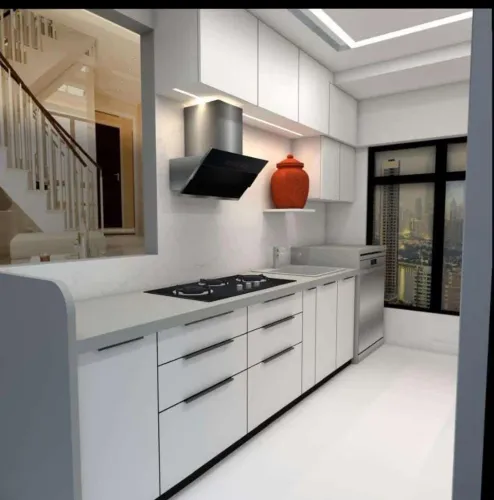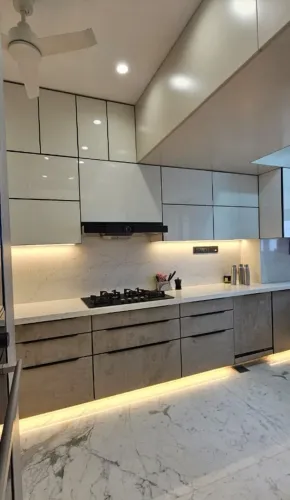
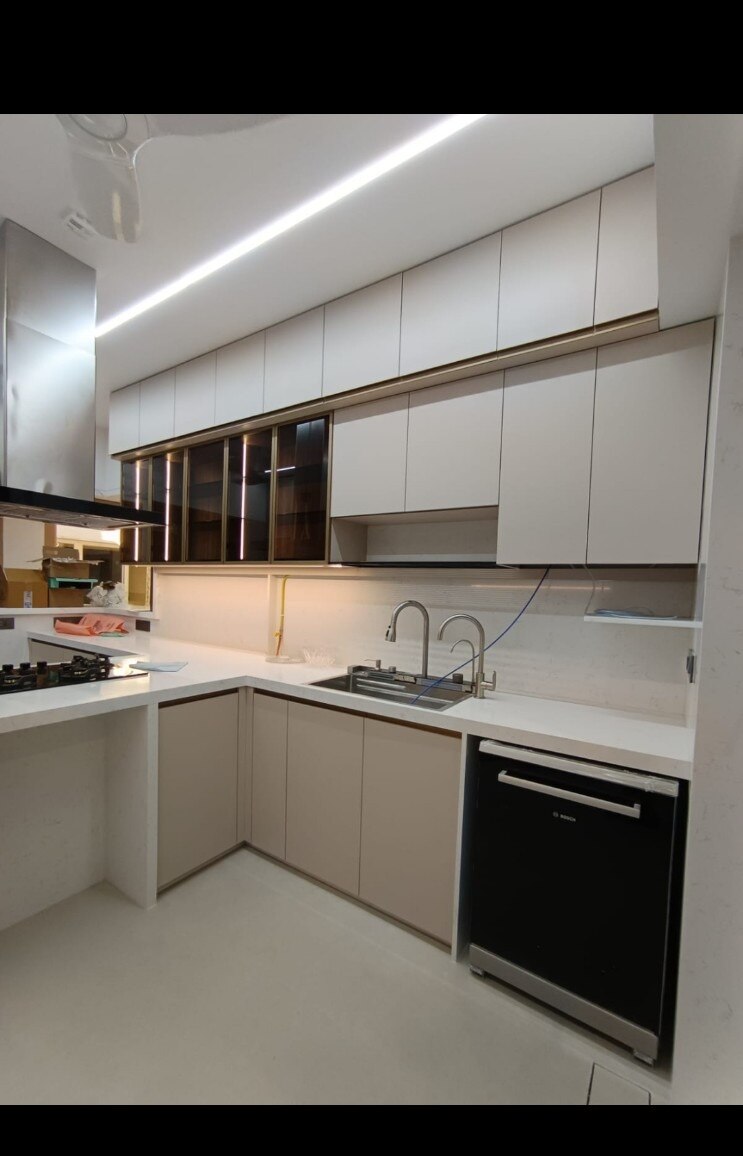
A narrow kitchen in a Chikhali apartment can lose usable space through an oversized counter, an inaccessible corner, or a door that opens into the main work area. By measuring the room, selecting the right layout, and specifying storage and services together, you can create a compact kitchen that remains safe, maintainable and comfortable to use.
Key takeaways
- Measure finished clearances around doors, windows, pipes and appliances.
- Keep at least 900 mm between opposing kitchen counters for comfortable movement.
- Place the sink, hob and refrigerator close enough to form an efficient work triangle.
- Specify service access, moisture-resistant materials and safe electrical points before fabrication.
Measure the Chikhali Kitchen Before Choosing Cabinets
Measure the finished clear space, not the dimensions shown on the builder’s plan. For a modular kitchen interior in Chikhali, record every obstruction before selecting a cabinet module; a few lost centimetres can make a Chikhali apartment kitchen unusable.
Use this kitchen measurement checklist on site:
- Measure each wall from finished wall to finished wall at floor level, counter height and ceiling height. Record wall thickness, uneven corners, beams, columns and duct projections.
- Mark the exact width, height and swing direction of every door, window and balcony opening. Keep the opening, handle and curtain track clear of cabinets.
- Locate the sink drain, water inlet, floor trap, gas-line point and any water-heater or dishwasher connection. Measure each point from the nearest corner.
- Photograph and measure every electrical socket, switchboard, appliance outlet, chimney outlet and light point. Plan these before fabrication so they remain reachable after installation; electrical work must follow IS 732 and local inspection requirements.
- Note the proposed refrigerator, hob, chimney and microwave dimensions, including ventilation gaps and door-opening clearance.
- Record the unobstructed aisle width after allowing for the finished counter, which is commonly 600–650 mm deep, and base carcasses that are commonly 560–600 mm deep.
| Measure | Record | Why it matters |
|---|---|---|
| Wall run | Finished length at three heights | Exposes taper and prevents oversized cabinets |
| Opening | Width, height, swing and sill | Protects window and door clearance |
| Services | Exact point and height | Prevents concealed plumbing or unsafe wiring |
| Obstruction | Beam, column, duct or pipe size | Stops unusable gaps in a builder-provided kitchen niche |
Select the Layout by Aisle Width and Door Clearance
A small kitchen layout should start with the room’s clear width, not the cabinet catalogue. A straight kitchen suits a narrow builder-provided niche; an L-shaped modular kitchen suits a corner room; parallel kitchen design and U-shaped layouts need enough width for a safe central aisle.
| Option | Minimum clear circulation | Best use |
|---|---|---|
| Straight kitchen | 914 mm passage; 1,067 mm in front of active work | One-wall niches and narrow rooms |
| L-shaped | 1,067 mm work aisle for one cook; 1,219 mm for two | Corner rooms with one open side |
| Parallel | 1,067 mm between counters for one cook; 1,219 mm for two | Long rooms at least about 2,270 mm wide with two 600 mm counters |
| U-shaped | 1,067 mm inside the U for one cook; 1,219 mm for two | Wider rooms that can accommodate two opposing runs and a return |
A parallel or U-shaped plan becomes cramped when finished counters are 600–650 mm deep on both sides. Allow extra width beyond the calculation, especially in compact Chikhali apartments where a beam, column or wall irregularity reduces the usable dimension.
Check these clearances before approving the layout:
- Open the refrigerator, oven, dishwasher and pantry doors on the drawing, not only in the closed 3-D view.
- Keep at least 914 mm clear where people pass through, and 1,067 mm where one person works.
- Keep a main door swing, balcony door or window shutter from entering the work aisle.
- Place tall units where an open appliance door will not block the sink, hob or only clear route.
- Reject a U-shaped plan if the remaining centre aisle forces two people to turn sideways.
Keep the Work Zones and Counter Space Connected
Place the refrigerator near the kitchen entrance, followed by a clear landing surface, sink, preparation counter and hob. This sequence keeps groceries from crossing the cooking area and turns a narrow room into connected kitchen work zones rather than isolated cabinets.
- Set the refrigerator beside the entry or at the end of an L-shaped run, with at least 400–600 mm of usable counter beside its opening. Do not let its open door block the main aisle.
- Keep the sink close to the refrigerator and waste point, but leave 600–900 mm of uninterrupted counter between the sink and hob for chopping, mixing and setting down hot cookware.
- Put the hob after the preparation area, with landing space on both sides. Keep it away from a corner so handles, elbows and pans do not collide with walls or tall units.
- Treat the kitchen work triangle as a check, not a rule. In a narrow apartment, a linear sequence or zone-based arrangement reduces backtracking better than forcing three points into a perfect triangle.
A compact kitchen counter space plan still needs safe movement. Preserve a work aisle of at least 1,067 mm for one cook or 1,219 mm for two; keep a passageway at least 914 mm wide. Test refrigerator, oven, pantry and drawer swings on the plan, not only in a closed 3-D render.
Set the finished counter height around 850–900 mm only after checking the primary user’s elbow height and appliance dimensions.
Choose Storage Fittings That Do Not Waste Reachable Space
A 560–600 mm-deep base cabinet with a 600–650 mm finished counter usually gives better usable capacity than a deeper box that steals aisle width. Choose fittings by what you can reach, lift and clean—not by the number of shelves shown in a 3-D render.
| Option | Best capacity use | Access, load, maintenance and clearance compromise |
|---|---|---|
| Kitchen drawer stacks | Pots, pans, plates and provisions; 600–900 mm-wide drawers use vertical space efficiently | Full-extension runners expose contents, but specify their load rating; wide heavy drawers need stronger hardware and more adjustment |
| Tall pantry unit | Narrow floor area for grouped dry goods and bottles | Shelves are accessible only from the front; keep it away from the refrigerator, oven and main aisle so an open door does not block work |
| Blind-corner pull-out | Recovers the rear of a blind corner | Check the mechanism’s stated load and opening clearance; moving joints need adjustment and cleaning |
| Corner kitchen storage with fixed shelves | Reliable storage for occasional cookware | The rear remains hard to reach, so expect less capacity than the cabinet volume suggests |
| Overhead cabinets and lofts | Seasonal utensils and lightweight stock above the counter | Loft doors need head clearance and a safe reach; deep or high shelves become dead space, while loft tops require periodic dusting |
Use drawers below the hob and sink only after checking plumbing and appliance clearances. Reserve overhead cabinets for items you can lift safely, and verify every open door and drawer against the opposite counter before fabrication.
Make the Fabrication Brief Safe, Serviceable and Chikhali-Ready
Before cutting a single panel, get a written fabrication brief covering moisture protection, gas access, ventilation, electrical points and service clearances. A compact cabinet plan loses value quickly if a leak damages the carcass or an appliance outlet disappears behind it.
1. Specify the board and protection, not just the finish. Ask whether each carcass uses plywood conforming to IS 303 or IS 710, then inspect edge-banding, sealed sink cut-outs, raised cabinet bottoms and the panel behind the sink. IS 710 plywood does not make an unsealed joint waterproof.
2. Complete IS 732 electrical wiring planning before fabrication. Mark dedicated, reachable outlets for the refrigerator, hob ignition, chimney, dishwasher, water heater and under-cabinet lights; keep switches accessible after doors and drawers are fitted. Confirm the circuit protection and local inspection requirements with the electrician.
3. Put gas safety on the drawing. Keep the cylinder, regulator, hose and shut-off point accessible and ventilated, rather than sealing the cylinder inside an airtight cabinet. Follow your LPG supplier’s hose and clearance requirements so an emergency isolation does not require removing a drawer.
4. Confirm ducted chimney planning in writing. Record the outlet diameter, route, termination and number of bends; a long, narrow or sharply bent duct can reduce extraction at the hob. Do not treat a recirculating hood as equivalent.
5. Mark plumbing access, appliance removal paths and hinge or drawer clearances. For a Pune-area home, ask Lucky Modular Kitchen Interior, a modular kitchen manufacturer in Chikhali, to show how wet cleaning, monsoon dampness and future leak repairs will be handled before final measurement.
Related products
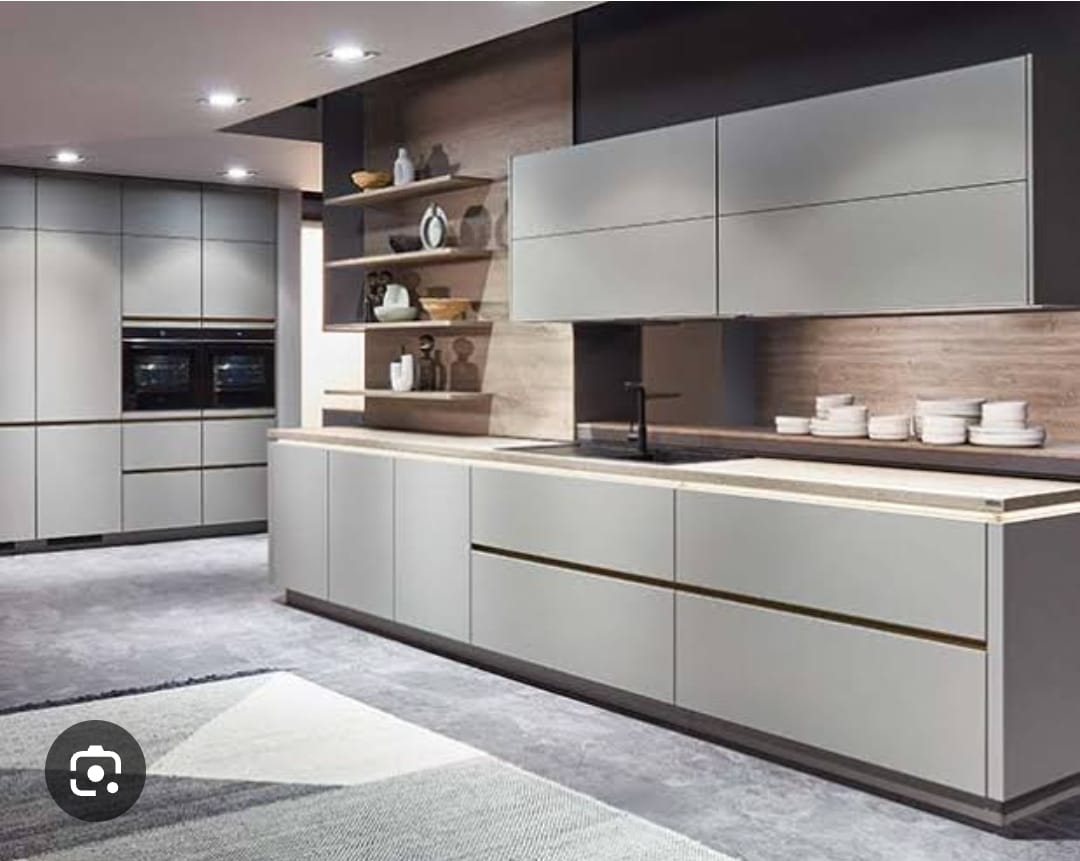 | Modular Kitchen Manufacturer Starting a modular kitchen manufacturing business can be a profitable venture, given the increasing demand for modern kitchen solutions. View product → |
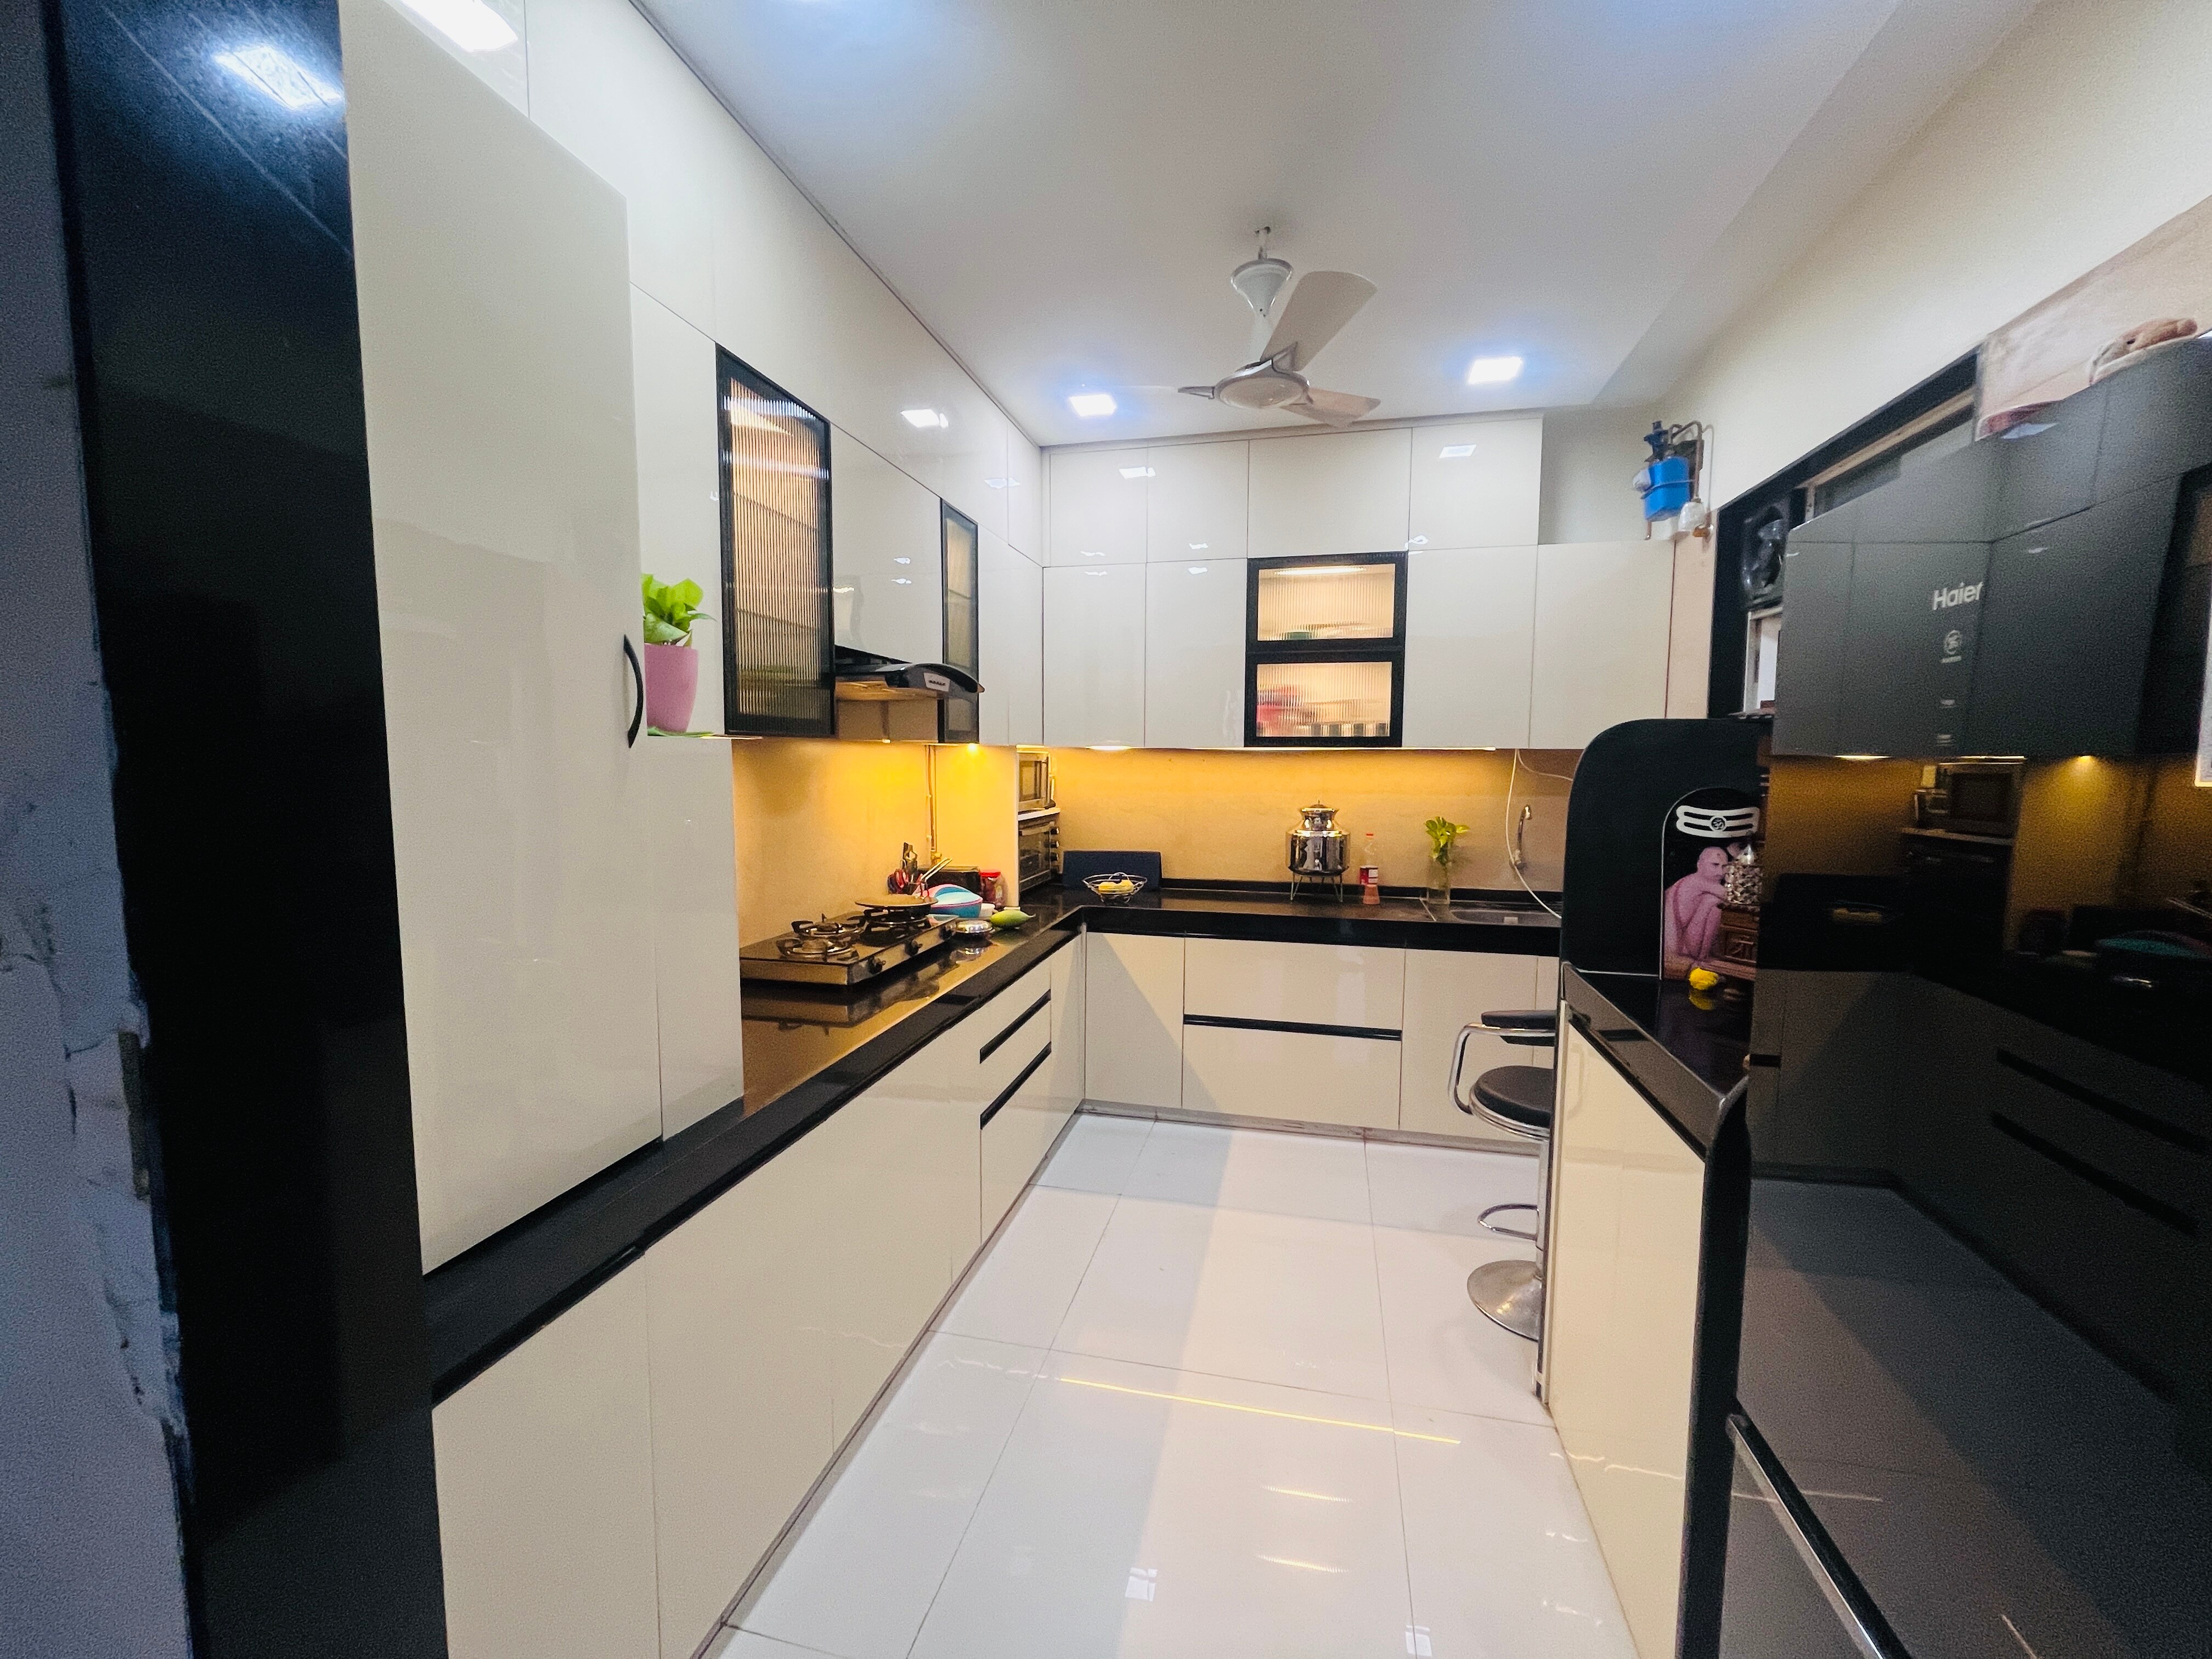 | Acrylic kitchen ₹195000 Acrylic, modular kitchen with GODREJ SLeeK Blum Hettch HAFELE Dendam. Premium quality Acrylic. View product → |
Frequently asked questions
What should you measure before choosing modular kitchen cabinets in Chikhali?
Measure the finished clear space, including wall lengths, ceiling height, doors, windows, columns, plumbing points, electrical outlets and appliance dimensions. Record door swings and obstructions because they reduce usable cabinet space.
How wide should the aisle be in a modular kitchen?
Plan at least 900 mm between opposing counters for basic movement. Increase the aisle where two people cook together or where a dishwasher, oven or cabinet door opens into the passage.
How should you connect the kitchen work zones?
Keep the refrigerator, sink and hob close enough to support a clear preparation path. Leave usable counter space between the sink and hob, and avoid separating these zones with tall units.
Which storage fittings help save space in a small kitchen?
Use drawer stacks, full-extension runners, corner pull-outs, tray dividers, tall pantry units and lift-up hardware where appropriate. Choose fittings based on the items you store and preserve clear access to frequently used shelves.
What should a Chikhali modular kitchen fabrication brief include?
Include verified measurements, appliance sizes, plumbing and electrical locations, material specifications, edge finishes, ventilation needs, service access and hardware details. Confirm moisture protection and safe clearances before production.