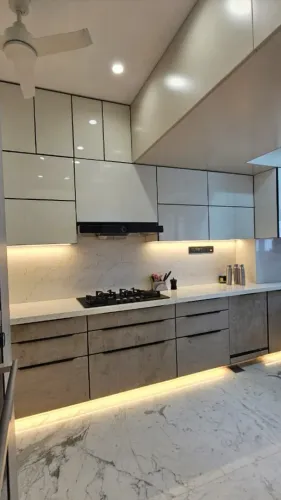
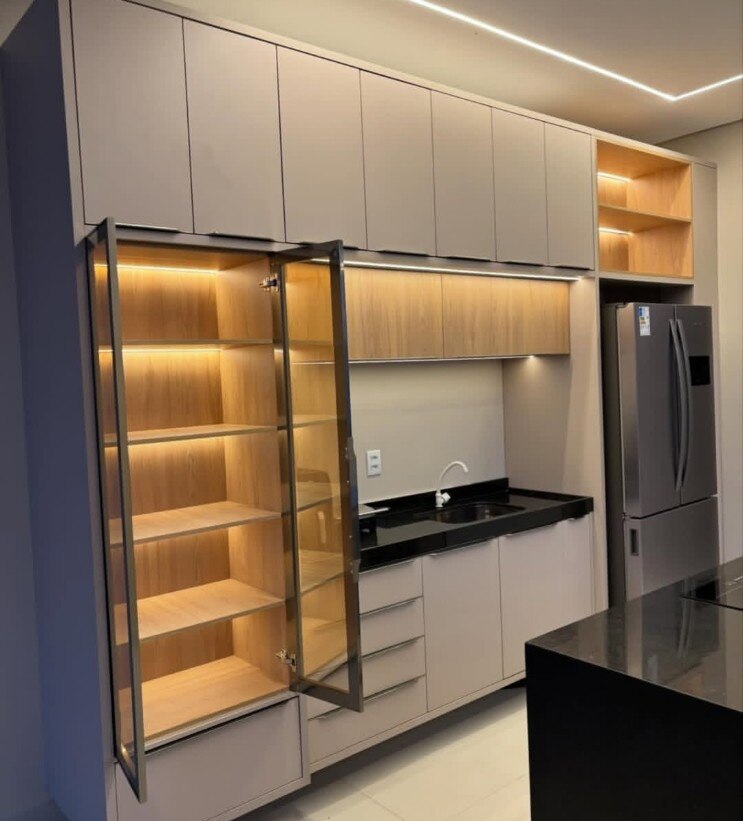
A stylish kitchen in Moshi has to do more than match a colour palette: it must fit the finished room, control cooking vapour, survive monsoon dampness and remain serviceable after installation. By the end, you will know how to measure the space, select a workable layout, compare finishes and boards, and check a quotation before fabrication begins.
Key takeaways
- Measure walls, ceiling height, windows, doors and utility points before planning cabinets.
- Choose the layout that matches your room shape, storage needs and cooking routine.
- Compare moisture-resistant carcasses, durable shutters, hardware and written installation details.
- Include chimney ventilation, appliance access, plumbing protection and easy-clean surfaces from the start.
What makes a modern modular kitchen work in a Moshi home?
A modern modular kitchen interior is defined by how safely and easily it works, not by handleless shutters or a fashionable colour. In Moshi homes, plan for monsoon moisture, frequent cleaning and reliable appliance access.
Activity zones for storage, washing and preparation, cooking, and serving create a more useful functional kitchen design than forcing every room into a work triangle.
Specify the parts that determine service life:
- Sealed plywood, MDF or particleboard carcasses, with the substrate and board thickness written in the quotation.
- Edge-banding adhesive and sealed cut edges, especially around the sink, where dampness causes early swelling.
- Hinges, drawer runners, lift-up fittings, hardware finish and warranty exclusions.
- Clear access to filters, sink traps, isolation switches, removable panels and appliance service points.
- At least 1,067 mm for a one-cook work aisle, 1,219 mm for two cooks and 914 mm for a passage; check real door and drawer swing too.
| Feature | Practical specification | Failure avoided |
|---|---|---|
| Moisture control | Sealed boards and protected sink cut-outs | Swollen edges and delaminated cabinets |
| Storage planning | Separate pantry, refrigerator and frequently used drawers | Crowded counters and repeated bending |
| Ventilation | Ducted hood sized for hob, duct length and bends | Persistent heat, grease and vapour |
| Minimal styling | Removable panels and adjustable hardware | Difficult cleaning and appliance repairs |
What should you measure before choosing the layout?
Fabricate cabinets only after flooring, wall plaster, tiles and plumbing rough-ins are complete. Repeat the survey then: a finished wall moving by even 20 mm can change filler panels, countertop length, appliance clearance and upper-cabinet alignment.
Use this kitchen measurement checklist on site:
- Record every wall length, corner-to-corner diagonal and corner angle to reveal out-of-square walls.
- Measure ceiling height, beam and column positions, window and door widths, opening directions and sill height.
- Mark plumbing points, sink drainage route, gas-line position and available ventilation.
- Mark electrical points, circuit locations, earthing, isolation switches and appliance positions before fabrication.
- Measure the gap between counters, tall units, refrigerators and walls. Check dishwasher, oven, refrigerator and corner-shutter doors at full opening, not as closed rectangles.
- Note damp or exposed areas around the sink, then specify boards, edge-banding adhesive and hardware for Moshi’s monsoon moisture.
Compare these records with the design before approving it:
| Measurement | Design decision it affects |
|---|---|
| Wall lengths and squareness | Cabinet runs, corner fillers and countertop joins |
| Ceiling height and beams | Tall units, lofts and chimney clearance |
| Window, door and sill positions | Upper cabinets, ventilation and door-swing conflicts |
| Plumbing points and drainage route | Sink cabinet, dishwasher connection and service access |
| Electrical points and appliance loads | Circuit placement; sockets behind appliances can stop them sitting flush |
| Aisle width and counter depth | Safe circulation and usable door clearance |
Check counter height with the main cook’s elbow height and test chopping, washing and hob use separately; one height rarely suits every task.
Which kitchen layout suits your room and cooking routine?
Choose the layout by mapping movement between food storage, washing, preparation and cooking zones, not by forcing a traditional work triangle. Keep the refrigerator, sink and hob usable without making someone cross the cooking area to reach the dining or entry door.
| Option | Best fit | Circulation and appliance check |
|---|---|---|
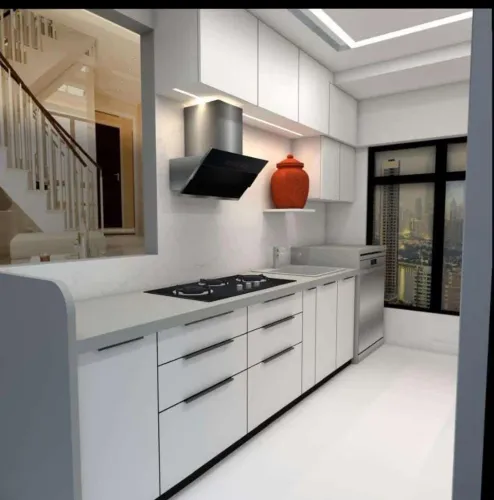
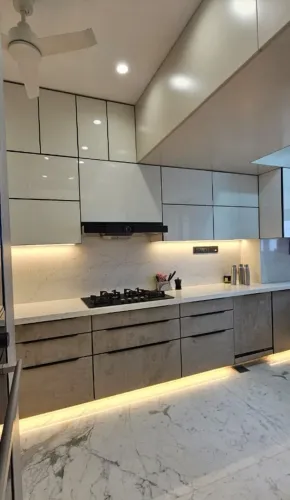
| Straight kitchen | One-wall rooms or narrow homes | Keep at least 914 mm for the passageway. Check that open refrigerator and oven doors do not block the route. |
| Parallel kitchen | Long, enclosed rooms with opposite counters | Allow 1,067 mm between counters for one cook or 1,219 mm for multiple cooks. Align the sink and hob so doors do not collide across the aisle. |
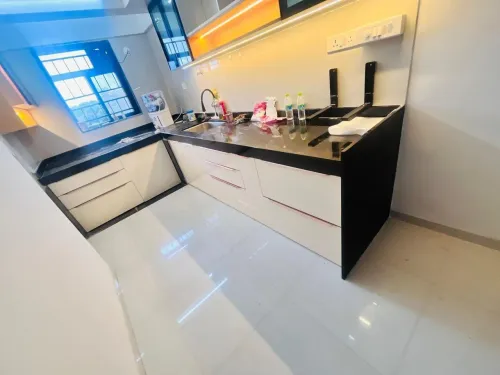
| L-shaped kitchen | Corners and open-plan rooms | Keep the corner practical with drawers or preparation space. Confirm that the refrigerator door clears the adjacent wall and cabinets. |
| U-shaped kitchen | Larger rooms needing continuous storage | Reserve 1,067 mm between opposing runs for one cook, or 1,219 mm for two. Avoid placing tall units at all three ends, which can make the centre feel trapped. |
| Island layout | Spacious open-plan kitchens | Leave 914 mm around the island as a passageway and 1,067–1,219 mm where cooking occurs. A U-shaped kitchen island needs wider clearance because it creates more approach points. |
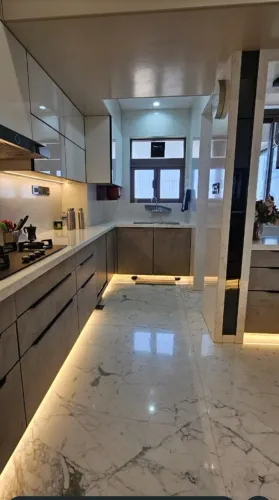
A straight kitchen or parallel kitchen suits compact rooms; an L-shaped kitchen preserves openness. Add an island only after testing appliance doors, drawer pulls, stools and walking paths at full scale. A U-shaped kitchen island is the wrong choice when it leaves less than these clearances.
How should you compare shutters, carcasses and installation quality?
Compare the finish, substrate, edges and installation separately; a glossy door cannot compensate for a weak or poorly sealed cabinet.
| Finish | Appearance and upkeep | Practical trade-off |
|---|---|---|
| Acrylic kitchen shutters | High-gloss, reflective, easy to wipe | Shows fingerprints and scratches |
| Laminate versus acrylic | Laminate offers many textures and stronger everyday value | Less reflective, but easier to replace |
| Membrane | Seamless routed profiles | Heat can lift the film at edges |
| Veneer | Natural timber grain | Needs consistent colour matching and protective coating |
| Glass | Brightens wall units and displays contents | Fingerprints and breakage need consideration |
| Painted | Any colour, including matt finishes | Chips and shade variation are harder to disguise |
Ask for the carcass specification, not just the shutter sample. Confirm board thickness, substrate, edge-banding adhesive, hardware finish, warranty exclusions and exposed-face sealing. IS 303 plywood suits general-purpose use; BWP plywood offers better moisture resistance.
At the sink cabinet, specify IS 710 marine plywood, but remember that joints, screw holes and cut edges can still admit water.
- Boards have no swelling, delamination or open voids.
- Edges are sealed continuously, especially beside the sink cut-out.
- Shutters align evenly, open through their full swing and do not scrape.
- Drawers run smoothly, hinges hold adjustment and handles are firmly fixed.
- Cabinets are level, plumb, securely anchored and finished with consistent gaps.
Lucky Modular Kitchen Interior can make the specification useful by recording these details in the quotation rather than leaving them as verbal promises.
Related product
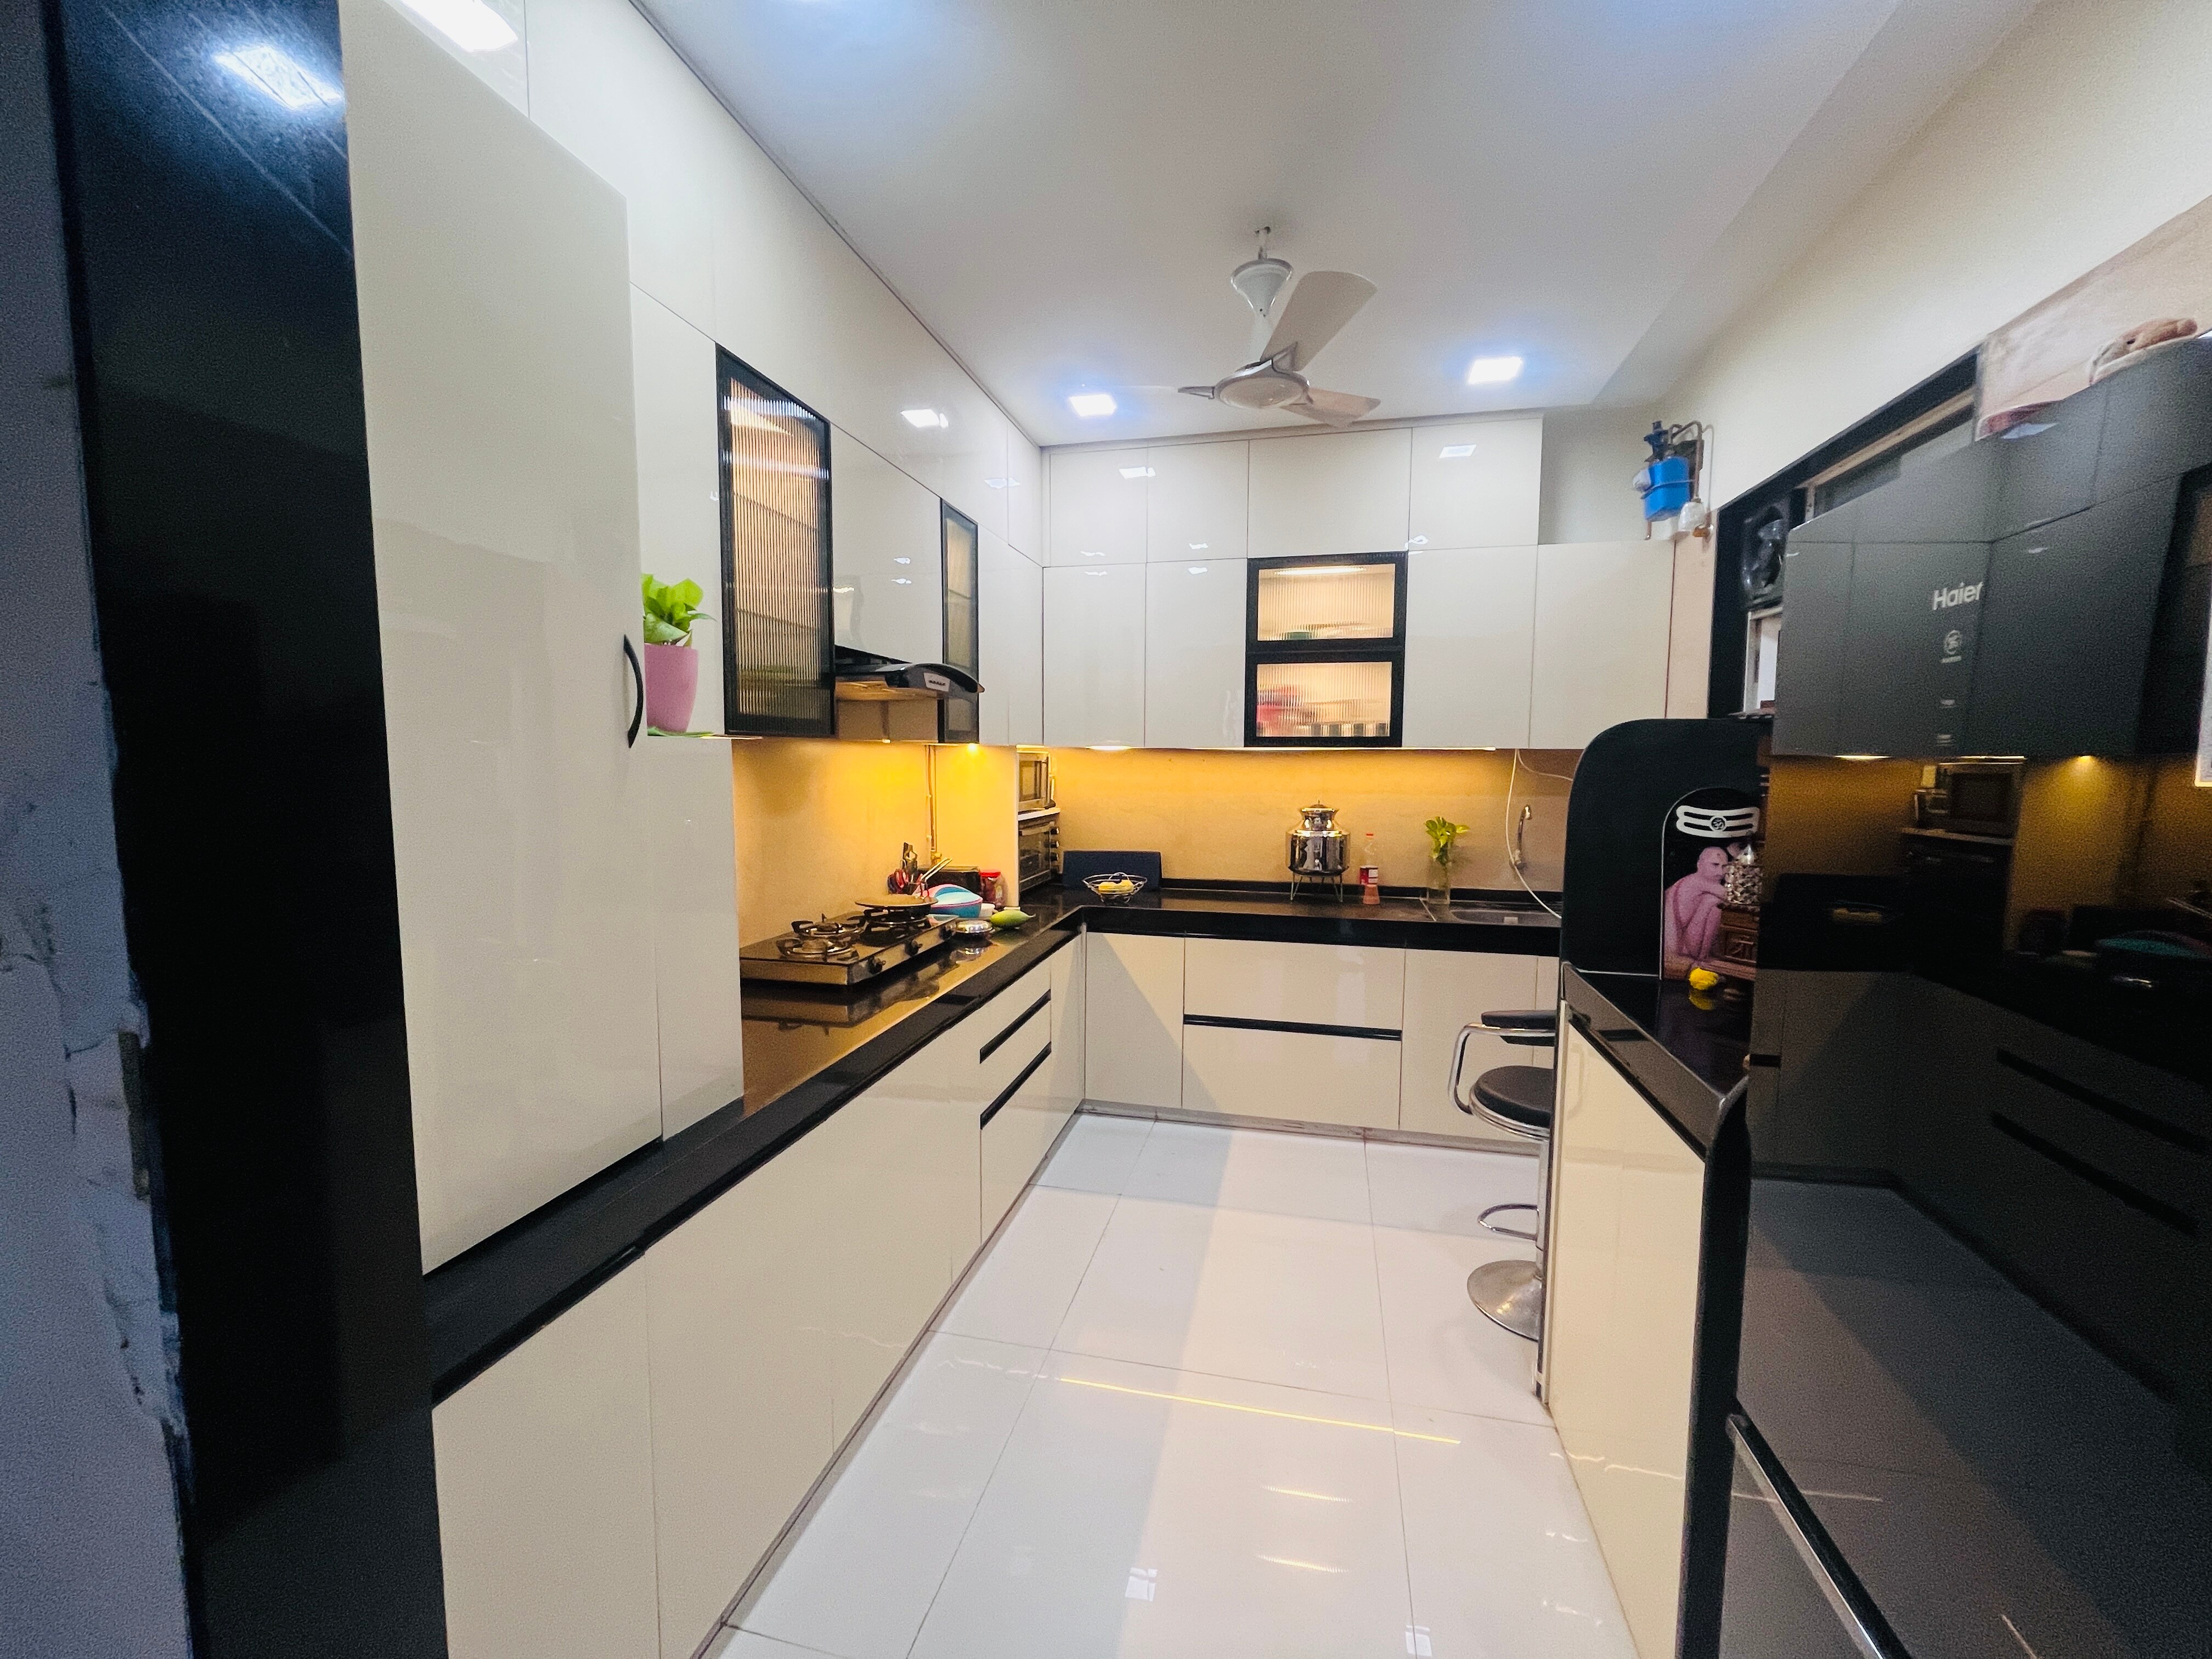 | Acrylic kitchen ₹195000 Acrylic, modular kitchen with GODREJ SLeeK Blum Hettch HAFELE Dendam. Premium quality Acrylic. View product → |
How do ventilation, utilities and maintenance shape the final design?
A decorative chimney cannot replace fresh-air planning. Specify kitchen chimney ducting with the shortest practical route, a properly sized outlet and access for filter cleaning; avoid unnecessary bends that reduce extraction. Provide cross ventilation through usable openings or a dedicated exhaust path, especially where cooking pollutants and vapour could drift into bedrooms or wardrobes.
Complete electrical planning before cabinet fabrication. High-load appliances need separate appliance electrical circuits with correct cable ratings, earthing and accessible isolation switches. Do not place a socket directly behind an appliance: it can stop the unit reaching the wall and make shutdown difficult.
Repeat the site survey after flooring, tiles, plaster and plumbing rough-ins are complete, because finished wall positions change cabinet widths and clearances.
Keep the sink area serviceable rather than sealing every connection permanently. Specify sink cabinet moisture protection using a removable, moisture-tolerant base, sealed cut edges and an accessible service void. Check the countertop cut-out and plumbing during the finished-kitchen inspection:
- Test the sink rim or under-mount joint for seepage.
- Inspect the faucet penetration and drain trap.
- Operate each water-supply valve.
- Confirm removable panels expose the trap and connections.
- Run the chimney and verify airflow, noise and filter access.
- Test appliance isolation, earthing and cabinet-door clearances.
Handleless channels and full-height backsplashes look clean, but preserve access for hinge adjustment, cleaning and appliance servicing.
Frequently asked questions
What makes a modern modular kitchen work in a Moshi home?
It combines safe movement, accessible appliances, efficient storage, moisture-resistant materials and surfaces that withstand frequent cleaning.
What should you measure before choosing a kitchen layout?
Measure each wall, ceiling height, doors, windows, beams, columns, electrical points, plumbing points and appliance dimensions.
Which kitchen layout suits a room and cooking routine?
Use a straight layout for compact rooms, an L-shaped layout for corners, a parallel layout for wider rooms and a U-shaped layout when you need maximum storage and worktop space.
How should you compare shutters, carcasses and installation quality?
Compare board thickness, moisture resistance, edge sealing, hinge and drawer quality, finish durability, alignment and the installer’s written scope.
How do ventilation, utilities and maintenance shape the final design?
Position the chimney, windows, sockets, water supply, drainage and appliance clearances before fabrication, then choose sealed edges and accessible service areas.