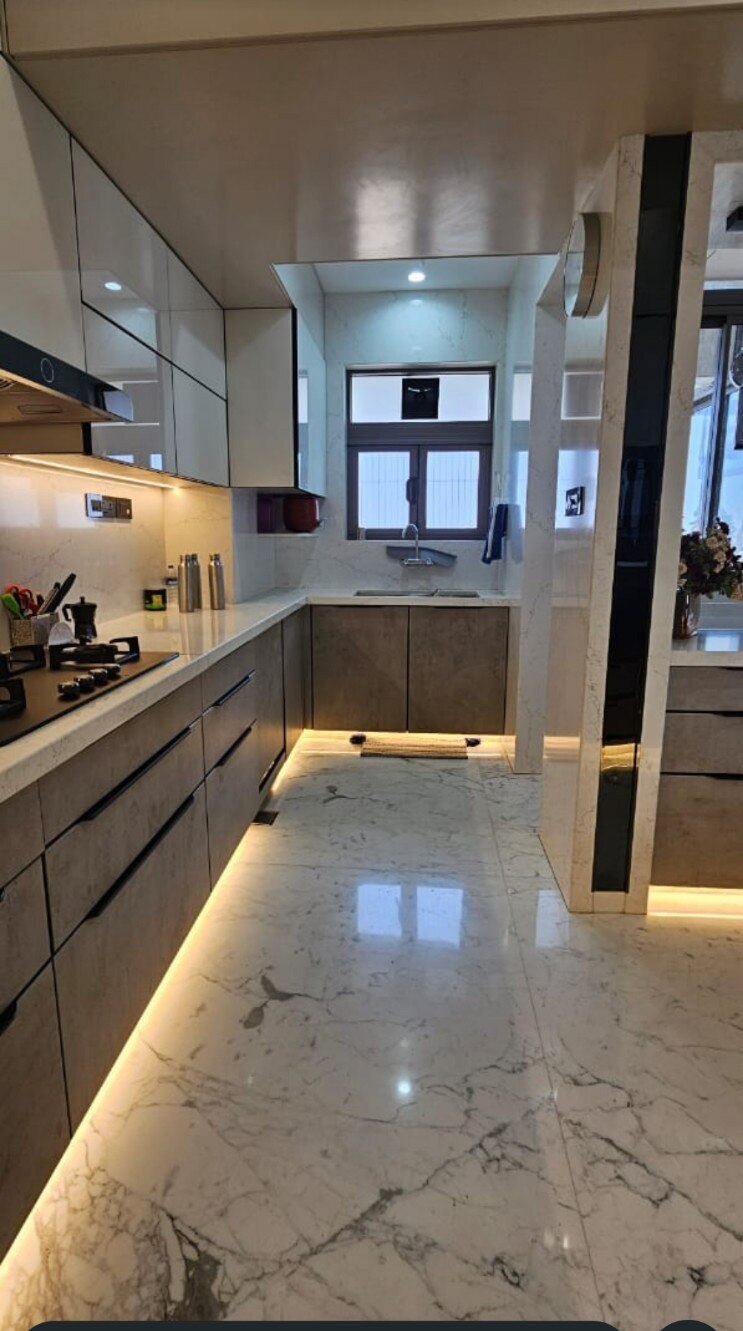
A kitchen holds more when its storage matches the household’s actual cookware, groceries, appliances and movement patterns—not when every wall is filled with cabinets. By the end, you will know which measurements to collect, which layout and cabinet types fit your Nigdi kitchen, and which construction details prevent wasted or difficult-to-access space.
Key takeaways
- Measure after flooring, tiles, skirting and countertop levels are complete.
- Keep kitchen aisles wide enough for doors, drawers and daily movement.
- Assign cabinets to real habits, appliance sizes and work zones.
- Check plumbing, electrical points and apartment constraints before cabinet fabrication.
Measure the Nigdi Kitchen Before Planning Any Cabinet
A cabinet plan is only as accurate as the room survey behind it. Take Nigdi kitchen measurements after flooring, wall tiles, skirting and countertop levels are final; a few millimetres can stop a refrigerator or tall pantry from fitting.
- Record finished wall lengths, corner-to-corner diagonals, ceiling height, beam drops and any columns or ducts. Note whether walls are uneven rather than assuming every corner is square.
- Mark the window position and door swing, including frame depth, sill height and the space needed to open the door fully. Record ventilation openings and their access requirements.
- Locate water inlet, waste outlet, gas-line location, chimney duct and electrical outlets. Mark each point from the finished floor and nearest wall corner.
- Measure the refrigerator, hob, oven, microwave, washing machine and dishwasher, including door-opening space, handles, ventilation gaps and required service access.
- Record the aisle width with existing doors open. Check that cabinet depths will not block circulation; deeper shelves can hide items and interfere with windows or appliance doors.
Before choosing drawer stacks or overhead cabinets, count the cookware pieces, grocery containers, dinnerware sets, appliances, waste bins and cleaning supplies you actually use. Note which items need daily access and which can go above comfortable reach. This inventory determines shelf spacing and prevents a tall cabinet from becoming an inaccessible column.
Final measurements should be verified on site before fabrication.
Choose the Layout From Aisle Width and Daily Movement
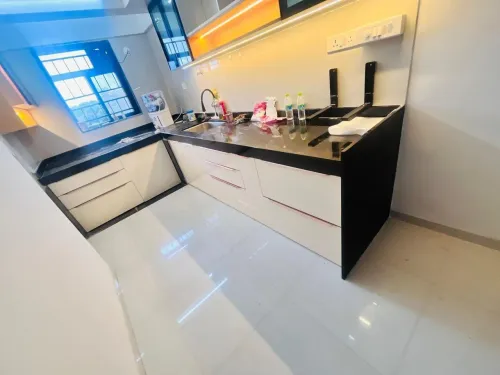
An L-shaped kitchen usually gives the best balance of storage, movement and appliance access in a compact Nigdi apartment. It keeps two connected work runs while leaving the centre open for circulation, provided the aisle remains at least 1,070 mm for one cook or about 1,220 mm for two.
| Layout | Storage and movement | Best use |
|---|---|---|
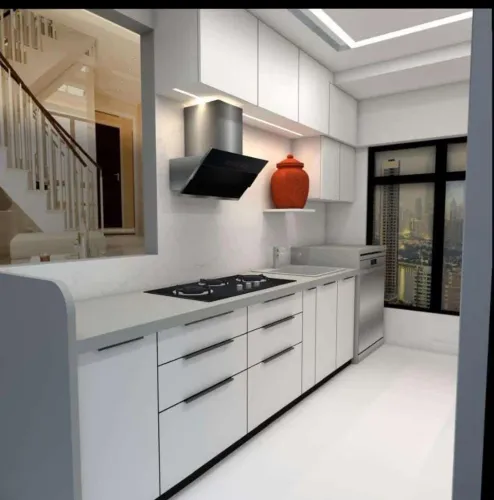
| Straight kitchen | Lowest storage capacity, but no corner congestion or cross-traffic | Narrow rooms where one person cooks and appliances sit in a clear sequence |
| L-shaped kitchen | Good base and wall-cabinet capacity with an open centre | Most compact homes; place washing, preparation and cooking along the two runs |
| U-shaped kitchen | Highest cabinet capacity, but opposing runs can make doors, drawers and bodies collide | Wider rooms with at least 1,220 mm between cabinet fronts |
| Parallel kitchen layout | Two efficient work runs, but the aisle becomes a shared traffic route | Long kitchens where doors, refrigerator openings and appliance handles do not reduce the clear aisle |
Treat the work triangle as a planning aid, not a rule. In a straight or parallel kitchen, separate storage, preparation, cooking and washing zones instead of forcing the sink, hob and refrigerator into a triangle.
Do not gain cabinets by filling every landing surface. Leave clear space beside the sink for washed utensils, beside the hob for hot cookware and beside the refrigerator for groceries.
Base cabinets around 560–600 mm deep and wall cabinets around 300–350 mm are common; extra depth can make shelves harder to reach and obstruct doors, windows or plumbing.
Convert Household Habits Into Cabinet and Work Zones
Count the items you use before counting cabinets. Record cookware, grocery containers, dinnerware, appliances, waste bins and cleaning supplies, then assign each group a home near its point of use.
Use kitchen work zones rather than copying a triangle blindly. The work triangle helps check the relationship between the refrigerator, hob and sink, but storage, preparation, cooking and washing zones suit compact linear or parallel kitchens better.
- Keep drawer stacks beside the preparation area for knives, ladles, peelers, chopping boards and frequently used containers. Use shallow top drawers for small tools and deeper drawers below for pots and pans.
- Place shutters where tall or awkward items need vertical clearance, such as large vessels, serving dishes and countertop appliances. Add internal shelves instead of leaving one deep, inaccessible cavity.
- Divide a tall pantry into adjustable shelves or pull-out drawers. Position everyday groceries between waist and shoulder height; reserve the highest compartment for occasional-use stock.
- Put a bottle pull-out near the hob, a waste bin inside or beside the sink cabinet, and cleaning supplies away from food storage. Keep plates and daily spices within comfortable reach, not in ceiling-height overhead cabinets.
Size cabinets around the contents, not empty wall space. Standard base depth is about 560–600 mm and wall-cabinet depth about 300–350 mm; extra depth often hides items and obstructs plumbing or appliance doors.
Leave preparation surface between the sink and hob where possible. Check every drawer, shutter, refrigerator door and appliance handle against the aisle before fixing positions. A beautiful storage plan fails if two people cannot open cabinets and work without collision.
Resolve Plumbing, Electrical and Awkward Apartment Constraints
Do not force a standard cabinet line against an irregular wall. Keep base cabinets near 560–600 mm deep only where doors, windows and services allow; extra depth can trap containers at the back and block appliance doors. Preserve a clear landing surface beside the sink, hob and refrigerator instead of filling every gap.
Use these fixes for common apartment constraints:
- Build around a column with a shallow filler, open shelf or narrow utility cabinet. Do not conceal inspection access behind a permanently fixed shutter.
- Scribe end panels to uneven walls, then check that drawers open without rubbing the wall or handle of the adjacent cabinet.
- Measure builder plumbing points before fixing the sink cabinet. Use removable panels and a leak-resistant base so the trap, valves and waste line remain serviceable.
- Confirm the chimney duct route before ordering overhead cabinets. A short, direct duct using the manufacturer’s specified diameter performs better than a narrow route with several bends.
- Check appliance clearances with doors and handles fully open. Target about 1,070 mm for one cook or 1,220 mm for two, counting opposing cabinet fronts.
Lucky Modular Kitchen Interior can document these measurements on the elevation drawing, including socket positions and service-access gaps, before manufacturing begins. Keep refrigerator, microwave, purifier and induction outlets reachable for isolation; never hide them behind appliances or place them beside the sink splash zone.
Related products
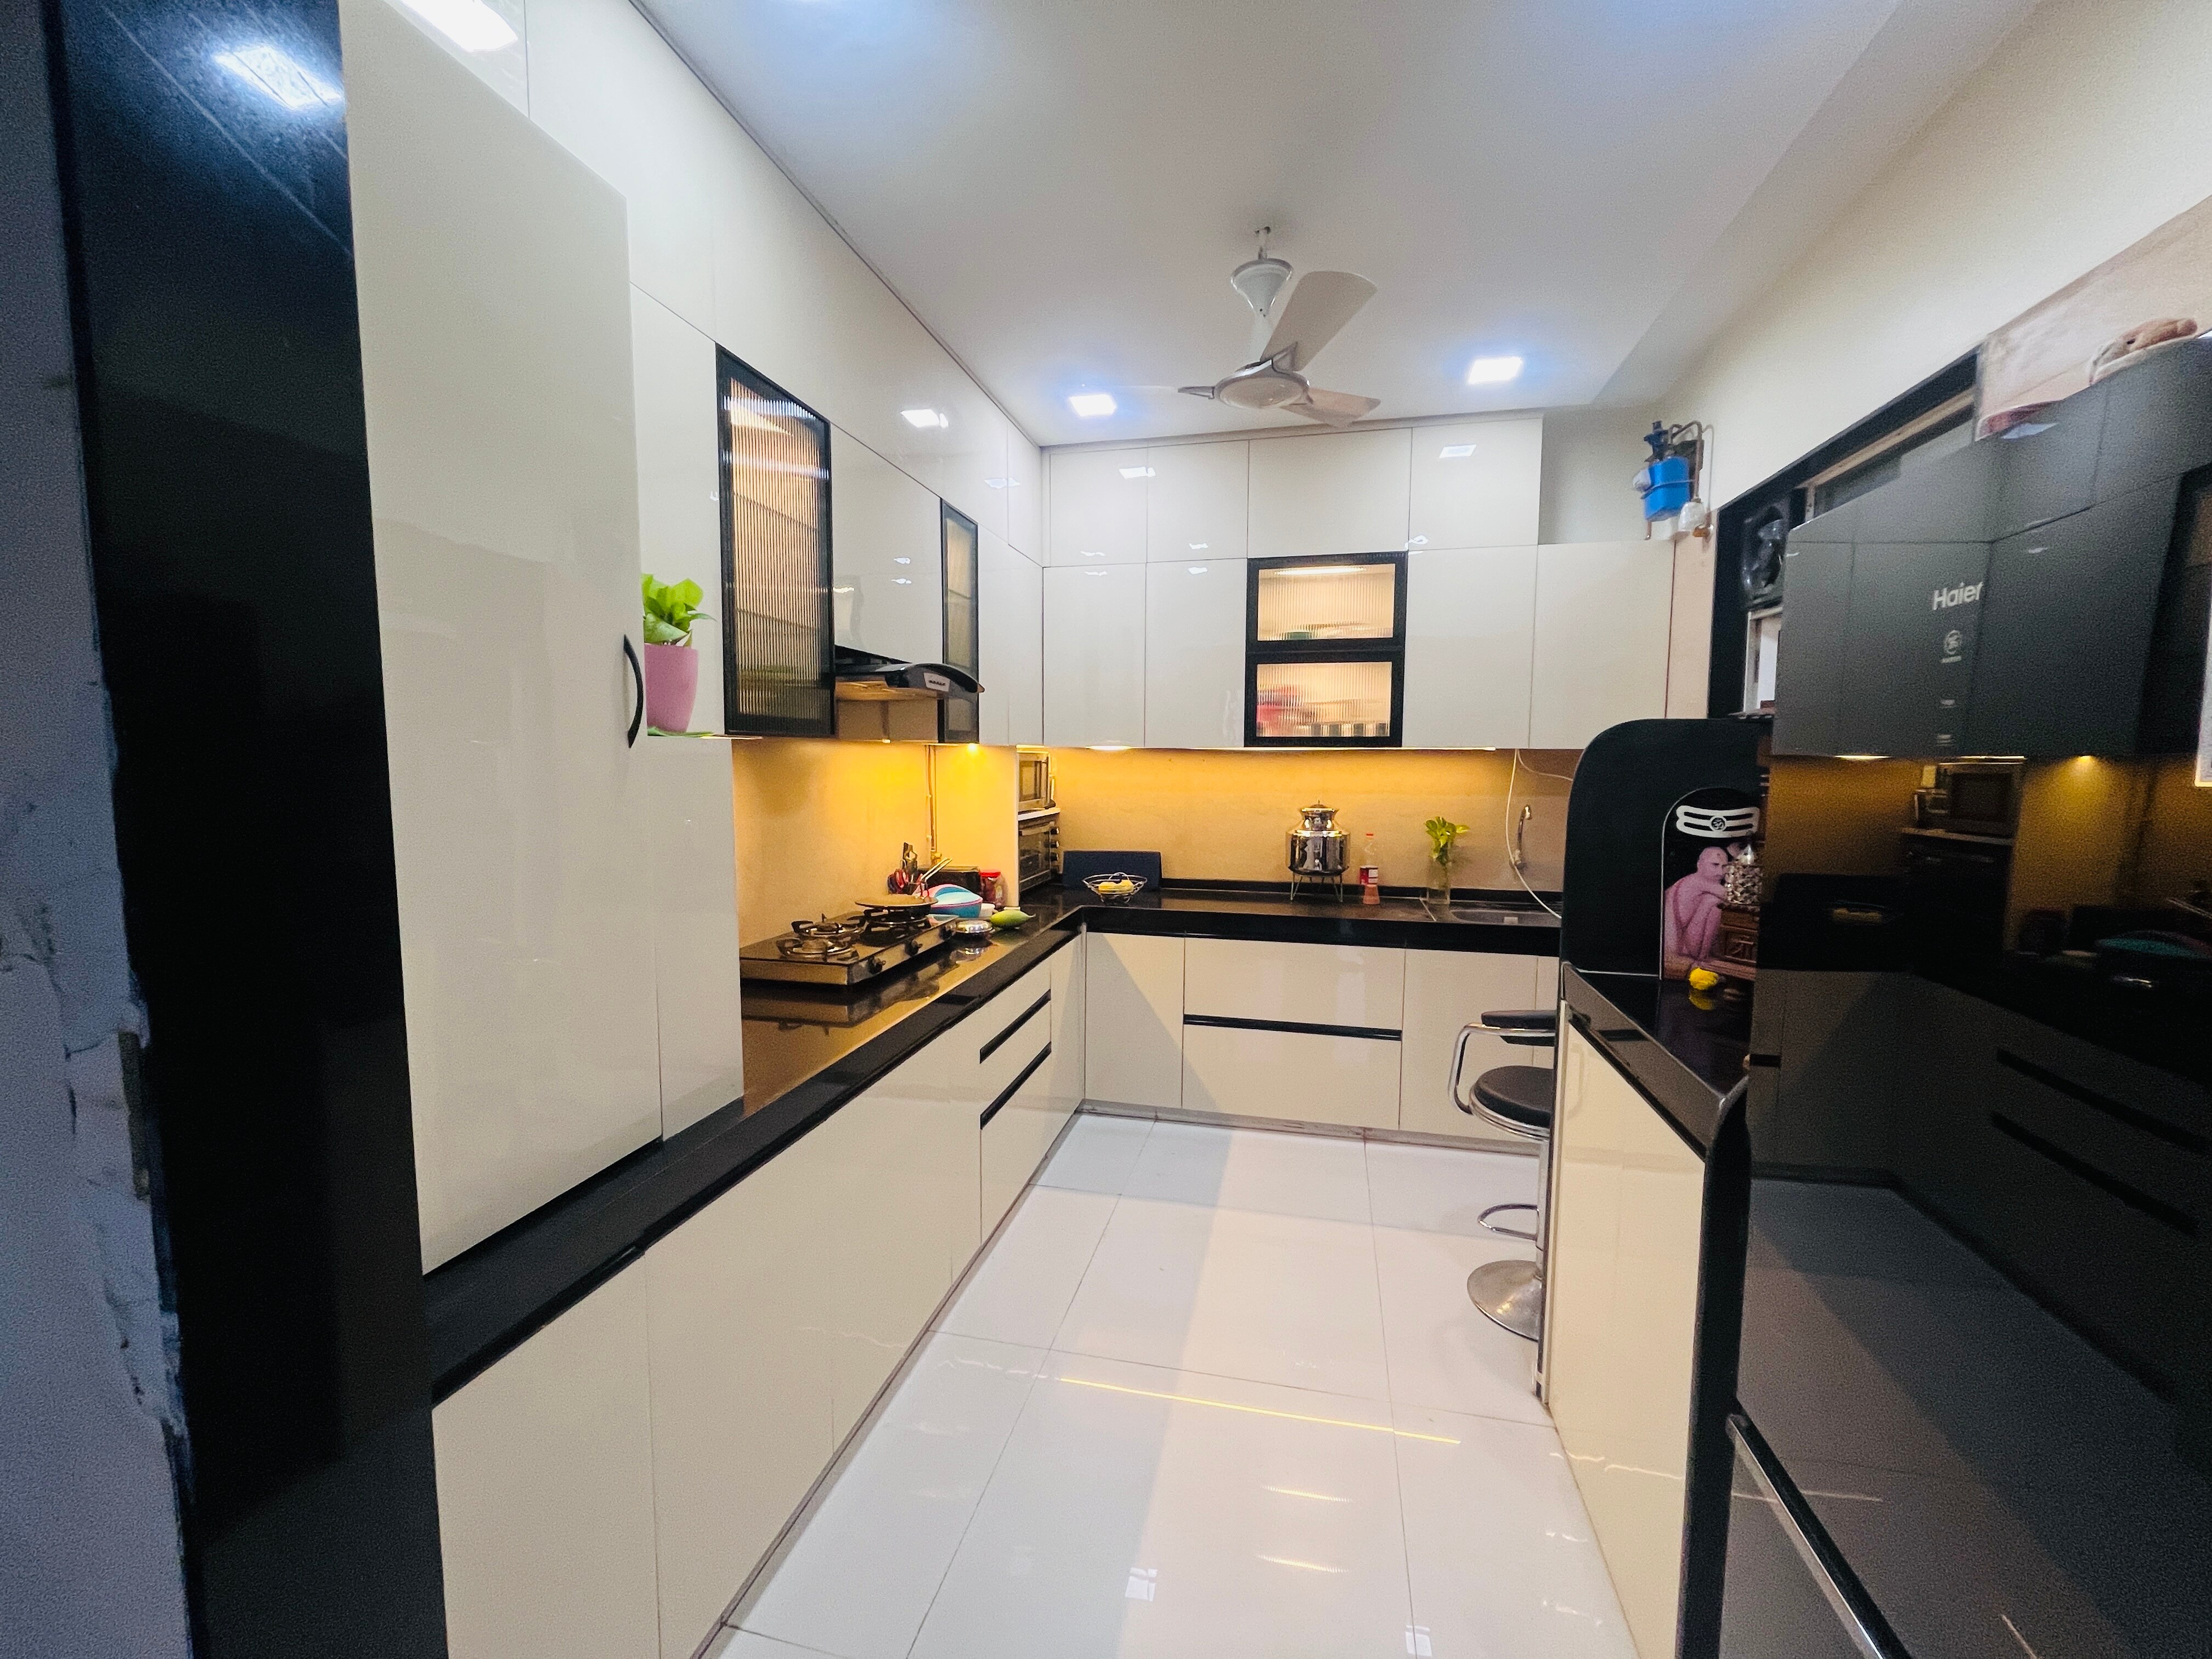 | Acrylic kitchen ₹195000 Acrylic, modular kitchen with GODREJ SLeeK Blum Hettch HAFELE Dendam. Premium quality Acrylic. View product → |
 | Lower and modular box ₹75000 Modular kitchen interior View product → |
Compare Finishes and Materials for Long-Term Storage Value
Choose the finish by asking how it fails, not how it looks on installation day. Check the board grade, thickness, edge sealing, adhesive and screw-hole sealing as well; MR, BWR and BWP labels do not guarantee a leak-proof cabinet.
| Finish | Durability and common failure | Cleaning | Repair |
|---|---|---|---|
| Acrylic kitchen finish | Smooth and moisture-resistant, but scratches show and edges can chip | Wipe with a soft cloth; avoid abrasive pads | Replace the shutter when deep scratches cannot be polished |
| Laminate kitchen cabinets | Strong everyday option; unsealed edges and swollen substrate are its weak points | Tolerates regular detergent and wiping | Replace the damaged laminate or shutter; matching repairs are limited |
| Membrane finish | Seamless surface, but heat and steam can lift the film, especially near ovens | Clean gently; solvents can damage the film | Peeling usually means replacing or re-wrapping the shutter |
| PU paint finish | Sealed surface with good moisture resistance; chips and colour changes are visible | Wipe promptly and avoid harsh chemicals | Sanding and repainting can work, but spot colour matching is difficult |
| Veneer | Natural wood layer that needs sealed edges; water can stain or lift it | Use a damp, not wet, cloth | Minor marks can be refinished; swollen veneer needs replacement |
| Glass | Does not swell and cleans easily, but it can crack or loosen at fittings | Glass cleaner and a soft cloth | Replace the panel after a crack; inspect hinges and channels |
For a sink cabinet, prioritise sealed cut edges and joints over a premium face finish. Keep the trap and supply valves reachable; boxing them in permanently turns a small leak into cabinet damage and an expensive repair.
Frequently asked questions
When should you measure a Nigdi kitchen before ordering cabinets?
Measure after flooring, wall tiles, skirting and countertop levels are final. Record wall lengths, ceiling height, door swings, window positions and service points before fabrication.
How do you choose a modular kitchen layout?
Choose the layout after checking aisle width, door and drawer clearance, appliance positions and the path you use between storage, preparation, cooking and washing zones.
How can household habits improve kitchen storage planning?
Place frequently used items between waist and eye level, store heavy cookware in deep drawers, and group cabinets around the preparation, cooking and cleaning zones.
What apartment constraints must you resolve before installing a modular kitchen?
Confirm plumbing outlet locations, drain slope, electrical points, gas-cylinder access, beam or column positions, window clearances and the building’s installation restrictions.
How should you compare modular kitchen finishes and materials?
Compare moisture resistance, edge sealing, hardware quality, cleaning effort, scratch resistance and repairability rather than choosing a finish based only on colour or appearance.
Related products
 | Modular Kitchen Manufacturer Starting a modular kitchen manufacturing business can be a profitable venture, given the increasing demand for modern kitchen solutions. View product → |
 | Modular Living Room Furniture ₹1 Modular living room furniture is a versatile and space-efficient solution for creating functional and stylish living spaces. View product → |
 | Children Bedroom ₹1 Designing a children's bedroom requires careful consideration of both functional and aesthetic aspects to create a safe, comfortable, and inspiring... View product → |
 | Interior Designer Becoming an interior designer can be a rewarding career if you have a passion for creating aesthetically pleasing and functional spaces. View product → |